How to Take Great Food Photos for Your Digital Menu (Using Just Your Phone)

Your guests eat with their eyes first. Before they even taste your signature dish or sip your handcrafted cocktail, their experience starts with a photo.
A beautiful, clear image on your digital menu can turn hesitation into excitement and curiosity into bigger orders.
But we know what you're thinking:
“We can’t afford a professional food photographer every time we change a dish.”
The truth is, you don’t need one.
Smartphone cameras today are incredibly advanced; they’re more than capable of producing stunning food photos that look fantastic on your menu, social media, and website. With a few simple tricks, your in-house team can do it all, saving you money and giving you full creative control.
Why You Don’t Need a Pro Photographer
High-quality food photography was once reserved for big budgets and marketing agencies. But technology has changed the game.
Today’s smartphones have features like advanced image sensors, portrait modes, and even AI enhancements that rival professional equipment. Plus, no one knows your dishes like you and your team. You know the best angle for that caramel drizzle, where to highlight that fresh herb garnish, or how to capture the perfect pasta swirl.
Here’s why it’s worth doing in-house:
- Cost savings. No need for expensive studio sessions or repeated professional fees.
- Flexibility. Update photos whenever you launch a new dish, seasonal special, or refresh your presentation.
- Authenticity. Guests appreciate images that accurately represent what they'll receive - not overly polished, unrealistic setups.
Remember: your digital restaurant menu app doesn’t need billboard-quality shots; it needs honest, consistent, and inviting images.
Planning Your Photo Shoot
Good preparation makes all the difference.
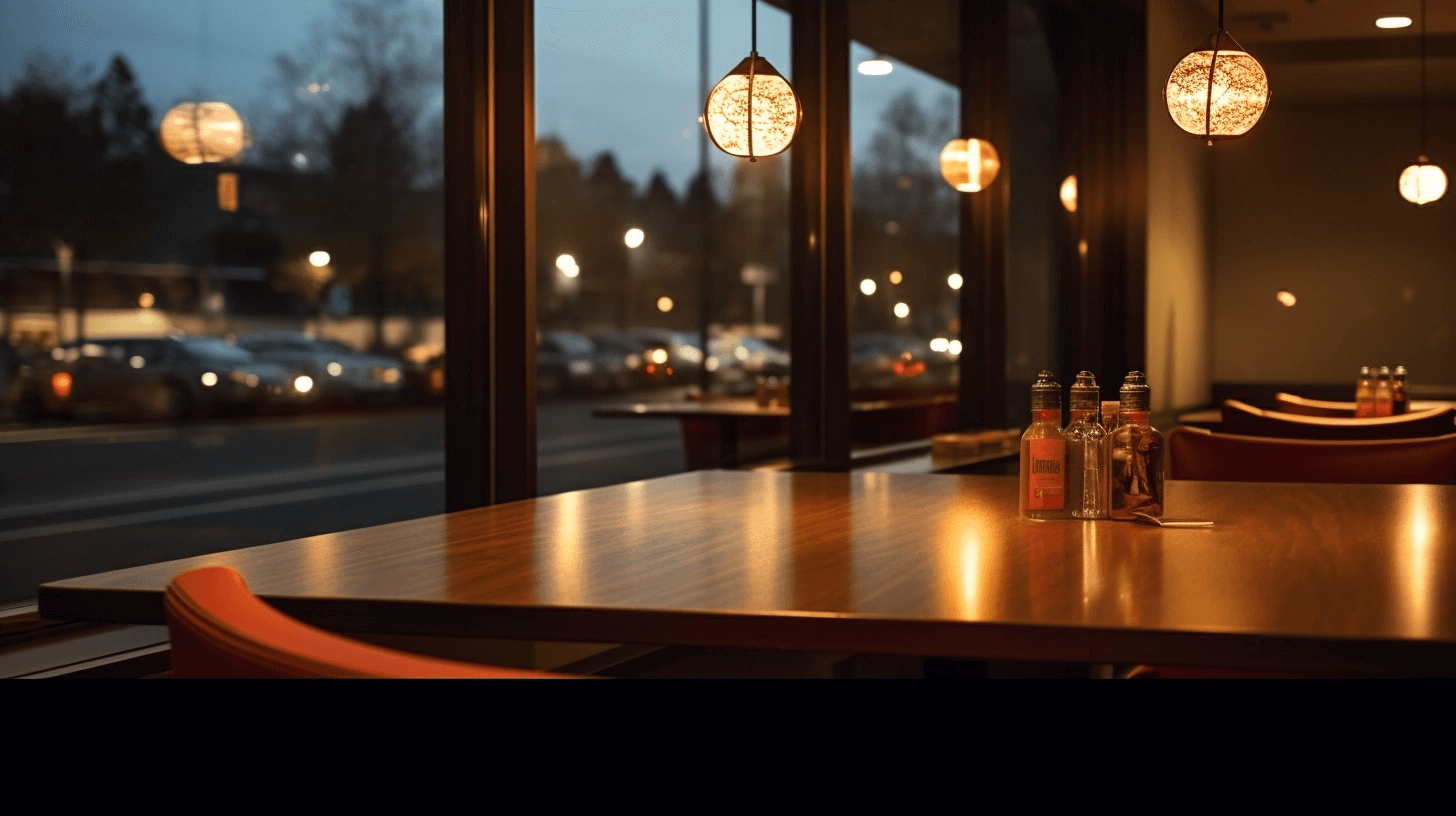
Choose Your Photo Spot
Find a table or small corner in your restaurant with consistent, natural light - ideally near a large window. Avoid harsh midday sun that causes strong shadows. If you don’t have natural light, consider using a soft LED panel or light ring.
Decide When to Shoot
Pick a time when the kitchen is calm (often mid-morning or mid-afternoon between services). Shooting without the rush means you’ll have more time to adjust and experiment.
Keep the Scene Clean
Remove condiments, menus, and any clutter from the table. Use simple plates and neutral tableware so the food stands out.
Make a Shot List
Write down every dish you plan to shoot - and in what order. This keeps the process smooth and helps the kitchen prep efficiently without interrupting service.
How to Shoot: Step-by-Step
- Clean your lens. Smudges are sneaky and can ruin an otherwise perfect photo.
- Set up the dish. Place it in the centre of the table or plate as you'd like it to appear on your menu.
- Choose your angle. Overhead (flat lay) is popular for bowls, pizzas, and platters. A 45-degree angle works well for burgers, stacked items, and dishes with height.
Adjust composition. Leave some breathing space around the dish to avoid a cramped look. It also allows for cropping across different platforms. - Tap to focus. Most smartphones allow you to tap the screen to lock focus and adjust brightness (exposure).
- Check the edges. Make sure no utensils or table edges are awkwardly cutting into your shot.
- Take multiple shots. Move slightly left or right, higher or lower. You’ll often find one “sweet spot” you didn’t expect.
- Review immediately. Zoom in to check sharpness and details. It’s easier to fix it now than notice mistakes later.
Tips for Consistency
When guests scroll through your online food menu, they notice if photos feel mismatched. Consistency is key to building trust and creating a premium look.
- Use the same table and background for every dish.
- Stick to one or two main angles.
- If you edit, apply the same preset or filter across all photos to ensure uniform brightness and colour balance.
- Avoid heavy filters that distort natural colours or over-sharpen details.
Optional Extras (If You Want to Go Further)
Ready to push your photos to the next level? Here are simple, affordable upgrades:
- Light ring or LED panel. These mimic natural daylight and ensure consistent lighting regardless of the weather or time of day.
- White foam board. Place it opposite your light source to bounce light back onto your dish, softening shadows and creating a more balanced image.
- Simple styling touches. A fresh herb sprig, a drizzle of sauce, or a cloth napkin can enhance visual appeal - but always keep it subtle and avoid clutter.
- Tripod or smartphone stand. Helps stabilise your shots, especially in lower light, and keeps framing consistent.
Final Checklist
Before you finish, run through this quick checklist to ensure each photo is ready for your digital menu for restaurants:
✅ Clean lens
✅ Bright, even lighting
✅ Simple, clutter-free background
✅ Main dish centered and properly framed
✅ Enough space around edges for cropping
✅ Consistent style with previous dishes
✅ Shot all dishes in one sitting if possible for best continuity
Good food deserves to be shown off properly; and with today’s technology, every restaurant can do it without needing to hire a photographer or buy expensive gear.
Your smartphone and these practical tips are all you need to capture beautiful, authentic food photos that make guests excited to order.
Remember, these photos don’t have to be award-winning. They just need to be clear, inviting, and true to what your guests will enjoy on their plate.
And when you're ready, Redro makes it easy to upload and update your photos, so your digital restaurant menu app always looks fresh and tempting.

Join the Culinary Revolution!
Transform your dining experience with Redro. Boost efficiency, delight diners, and fire up your sales. It’s more than a menu—it’s a game-changer for your brand.